Search This Blog

Showing posts with label origami. Show all posts

Saturday, September 29, 2012

Make a paper cube!


I just found a great Youtube channel for all kinds of origami and kusudama.
If you would like to see some fantastic videos about how to make some really amazing origami and kusudama, check out HappyPuppyTruffles' Youtube channel.
You will be amazed at how many things you can make with her help. 

this is what I am showing you how to make
it is a very simple cube made using a modular technique.
Modular origami is called kusudama.

Begin with a 3x3 square of paper

fold the paper in half


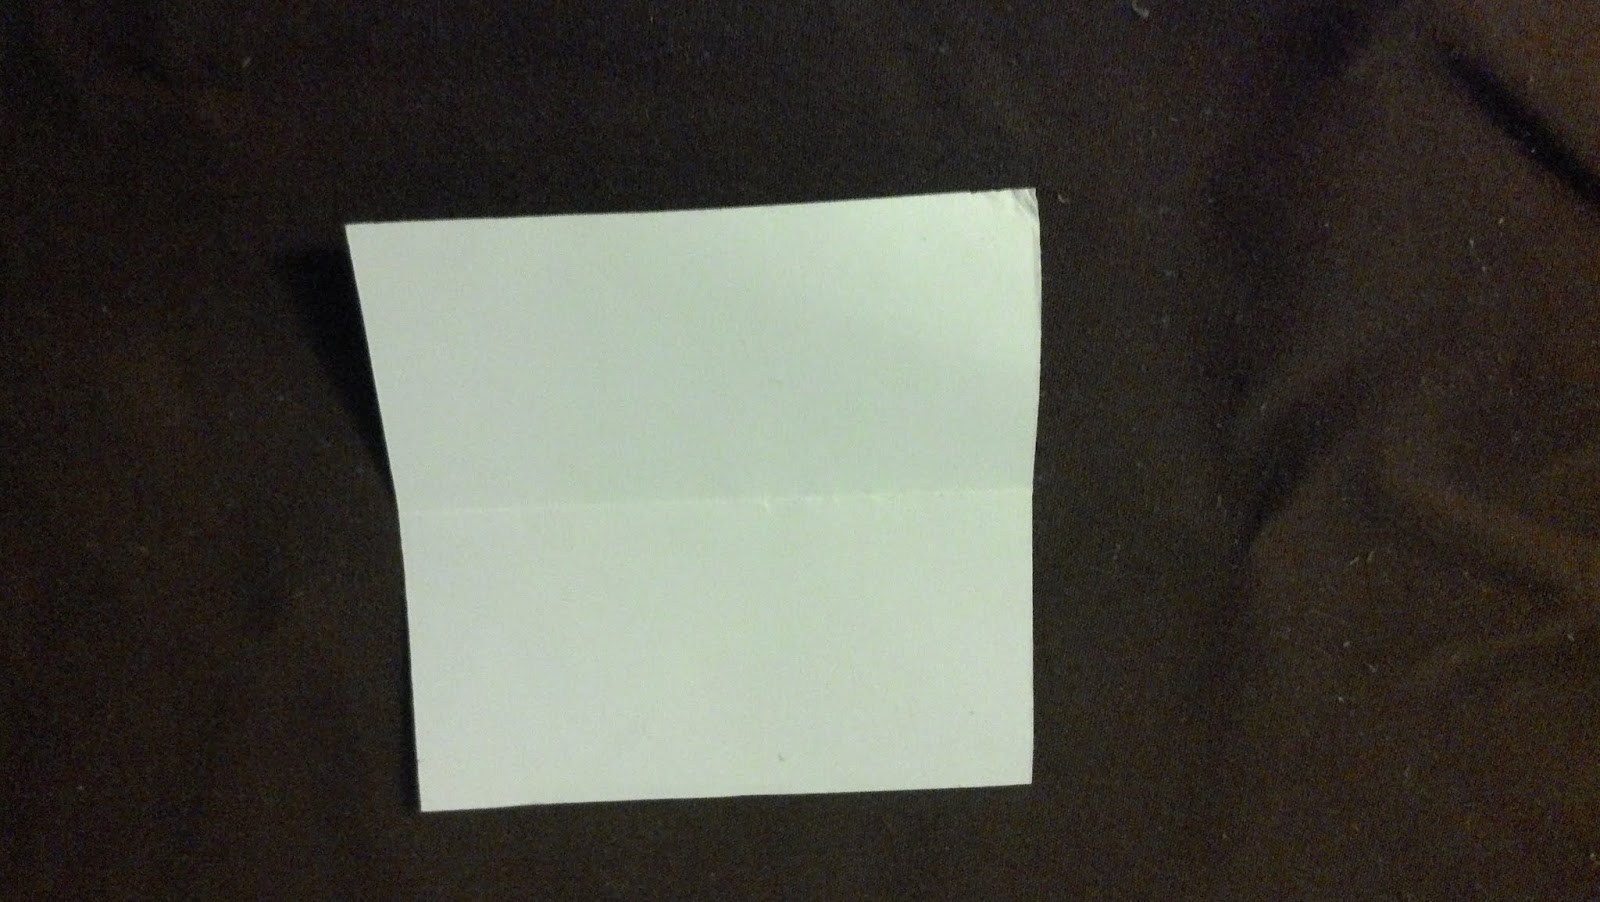
now unfold the paper

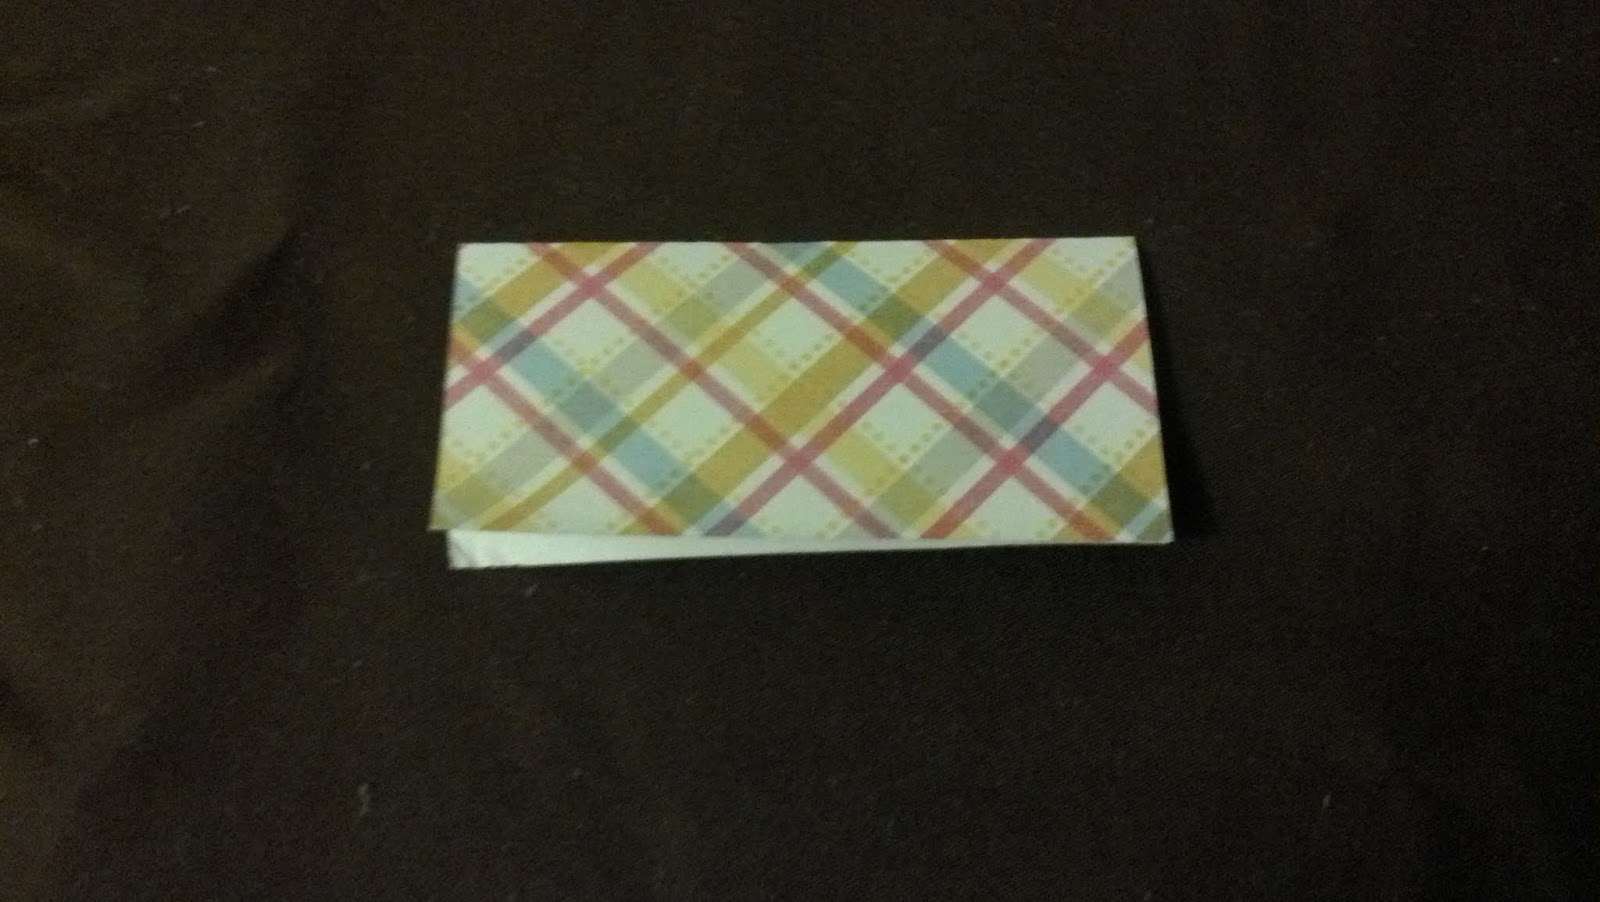
fold one side of the page in to meet the crease in the center

then, fold the other edge in to meet the center crease


fold the top-left and bottom-right corners so that your piece looks like this
unfold
you will notice when you unfold the piece that the two flaps now have small triangle shaped creases. tuck those small triangles under their flaps
after you tuck the small triangles under the flaps, tuck the larger triangle shape under the flaps

when the larger triangles are tucked in, your piece should look like this
This is one of six modules you will need for your cube
flip the module over
fold each point upward to make a square that has two points facing upward protruding from the top and bottom. The module should look like this. 
you will need six modules
each point of your module will fit into one of the triangular pockets on the front of each module

keep tucking the points into the pockets
you should see a cube shape begin to form as you continue tucking points into pockets
the last point being tucked into a pocket

Voila! one completed cube!


The video below is a time lapse video I made which shows how a cube is made. It goes pretty fast. I am still learning how to use the Lapse It! app on my Android tablet.


Make a paper star!

This design was adapted from kusudama which uses paper money. I like to use regular paper to make these. I would rather give the gift and the cash separately. 


Start with a rectangular shaped piece of paper

turn the paper upside down, so that the patterned side faces the table top.
Fold the paper in half lengthwise


unfold

fold the top two corners toward the center crease like you are making a paper airplane

fold one of the bottom corners to meet the center crease so that it creates a guide for the next step

fold the top point to meet the guide fold that is at the bottom
unfold the guide at the bottom

flip the folded piece of paper over 
fold the top two points in to meet the center crease
It is like making a paper airplane

fold the top two points in to meet the center crease
It is like making a paper airplane

fold the top two edges to meet the center crease again
It is kind of like those paper jets we used to make in grade school

fold the top two edges to meet the center crease again
It is kind of like those paper jets we used to make in grade school

flip the folded page over
it should look like this


begin rolling the bottom of the folded piece of paper toward the top


roll the bottom toward the top until it can be tucked into the small, triangular flap at the bottom of the piece 


you have just made your first module

make five modules


tuck the tabs into the slots in the back of the next module


continue to join your modules into a star shape
This is the part that requires the most patience. It isn't difficult, but does take patience.

your star will look like this from the backside
your star will look like this from the front
it takes a little bit of adjustment to get the modules connected just right
there will always be an open star in the center
if you don't like the center being open, you can paste a photo or star shape over the open part


Acrylic Sheets 12"X12" 25/Pkg - Clear - Scrapbooking (Google Affiliate Ad)


Making Memories Distressing Kit - Scrapbook Kits (Google Affiliate Ad)